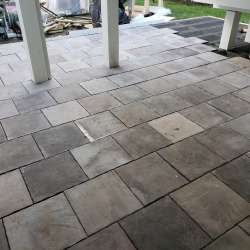
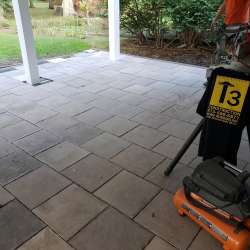
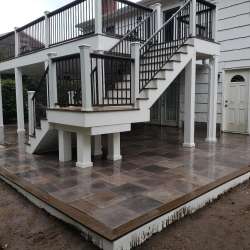
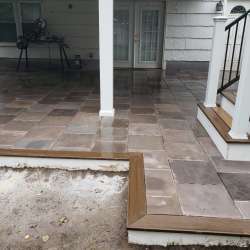
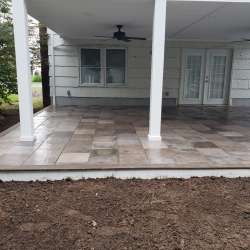
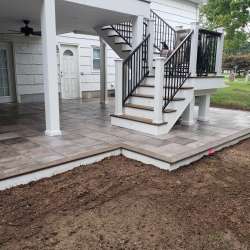
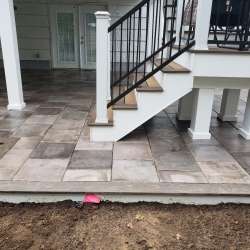
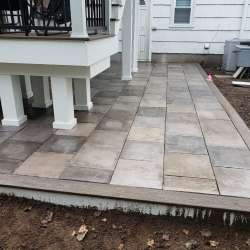
DekTek Tile Patio Installations
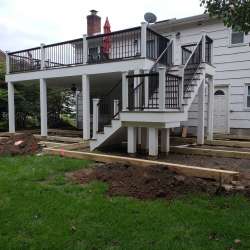
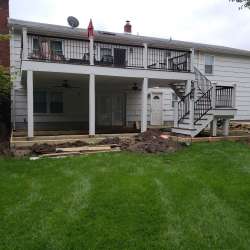
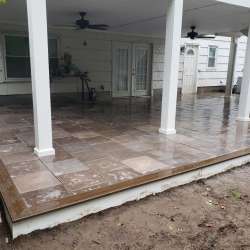
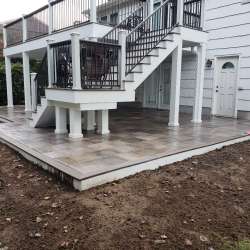
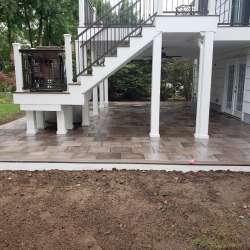
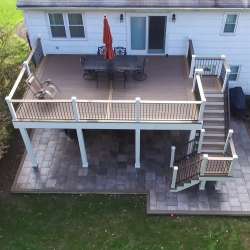
DekTek’s concrete deck tiles are the perfect solution for your outdoor patio! Whether you’re looking to transform an old patio, an existing concrete slab, or if you’re starting your project from scratch, our premium concrete decking is an excellent choice!
Here Are Some of the Benefits of a DekTek Tile Paver Patio:
-
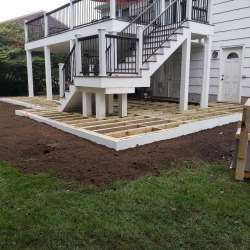
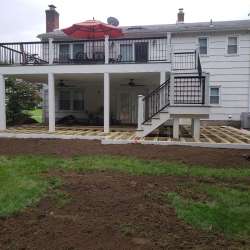
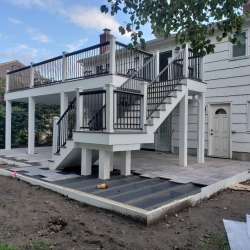
No Expensive Dirt Work - You don’t have to mess around with all of the expensive dirt work. Instead, you can build a frame right off the ground.
-
Water Issues - You can frame your paver patio up above the ground so you don't have to worry about water issues.
-
Permeable Pavers - DekTek Tiles have a high level of permeability when used on our elevated patio installs. This is important as some counties have strict permeability codes, restricting hardscape pavers that do not drain sufficiently into the soil.
-
Flood Zones - Our concrete deck tiles are the perfect solution for those looking for a hardscape paver patio when in a flood zone location. Learn more here.
-
DIY- Friendly – Installing a DekTek Tile patio is a basic installation.
-
Floating Patio – Smaller patios may be framed on the ground without foundations. Learn more here.

Depending on your application there are a few different ways a DekTek Tile patio can be built. DekTek Tiles are designed to be installed on structures off of the soil. We recommend installing the concrete pavers raised up off the ground for a couple different reasons:
- Our concrete deck tiles are only 1-inch thick versus other ground pavers that are a few inches thick. Therefore, DekTek Tiles are not specifically designed to be used as ground pavers.
- Due to the direct moisture and freeze/thaw action if placed directly on the ground, DekTek’s concrete deck tiles are not intended for ground use. Although DekTek Tile does not warranty the deck tiles installed directly on the ground/soil--as they’re not designed for this purpose--some folks do choose to use the tiles directly on the ground knowing the warranty is void and the expected life span will be shorter than the elevated framing installations.
- DekTek Tile is not usually the preferred choice for ground pavers for the reasons listed above as well as the cost. If you were to install our concrete deck tiles on the ground, you would need to do all of your proper dirt work – class 5, limestone, etc., which adds a lot of costs to your project (unless you’re using them for stepping stones). So unless you’re trying to coordinate the beautiful tile colors throughout your exterior to tie it all in nicely, there are other ground paver options that are more cost effective. With this said, instead of spending the cost on the dirt work, you can build a little frame either level with the ground or a step up, to give your outdoor space a life-long beautiful design. The big advantage to framing it up slightly off the ground is that you’re raising the paver patio up above water issues.
Walk-Out Basement Patio Installation (No Concrete Slab)
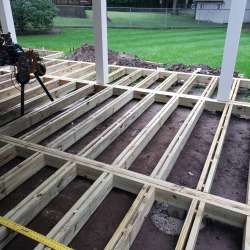
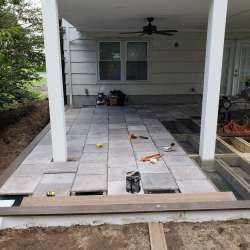
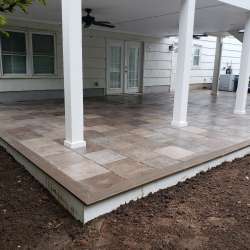
To build a walk-out ground floor patio deck, you are basically building a lower-level deck that is just one step off the ground. You will need to use 2x6s in lieu of larger deck joists, so the patio deck stays under the threshold of your doorway or is just a step off the ground.
The first stage will be to plan where your foundations will be placed, keeping in mind the beams can be made of multiple 2x6s or 2x8s “sistered” together to keep them the same height as the 2x6 joists.
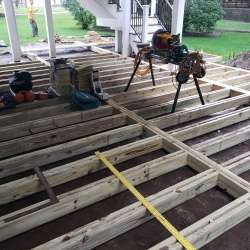
Next step, use the “Sister-Joist” Install Method to install the joists. This adds strength to the joists, so they are strong enough to span a greater distance to connect to the ground beams. When building a patio deck with limited height, the joists will be attached to the side of the beams for height purposes. This is different than an elevated deck high off the ground where the joists rest on top of the beams.
Another option that you could use for the joists, are 2x4s instead of 2x6s if there are height constraints and you need to keep your deck even lower to the ground. Also if needed, you have the option to excavate and dig so the patio deck stays under the threshold of your doorway or to your desired level. Keep in mind 2x4s will not span as far as 2x6s or 2x8s. Therefore, your footings need to be closer together if you use 2x4 joists.
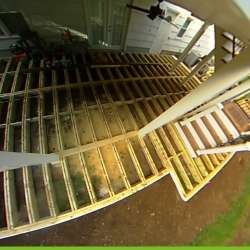
“Sistered” joists will then be installed 16-inch on center, attaching them to the ground beams with metal joist hangers. Blocking (also known as lateral bracing to help prevent the joists from twisting), will need to be added between joists, a minimum of 4 ft on center.
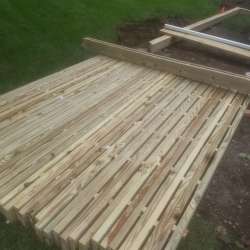
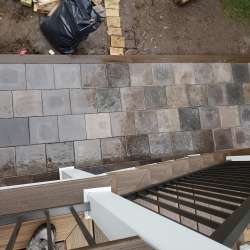
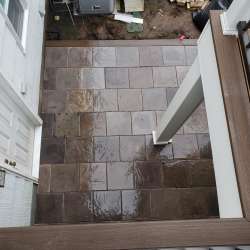
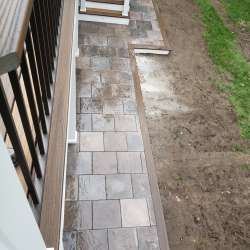
The concrete deck pavers need to be mechanically fastened on the outside perimeter of the patio deck. This edge trim can be composite, wood, or metal (anodized aluminum). This mechanically fastened edge trim piece is necessary to lock the tiles in permanently as the deck tiles are only glued down to the joists.
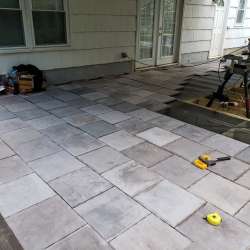
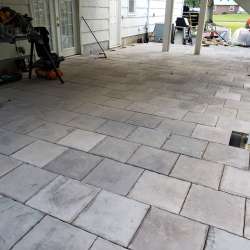
Tiles should be installed with polyurethane exterior adhesive, spacing tile joints approximately 1/16”.
Setting Tile Install Tip: First step when setting the tiles is to install the edge trim on 2 sides. Start installing the tile on one side and work your way to the other. For example, start by installing your edge trim on the left or right side (whichever starting point you prefer), and then you will also install another edge trim piece on the connecting/contiguous side (opposite of the home). The border trims should then look like an L shape. It’s now time to start setting the tile and work your way across the deck until all of the tiles are set. The reason for doing this, is when you get the tile down to the last far edge, you will be able to set the last edge trim piece exactly where you want it for a clean finished look.
To view more install options on how you can install the concrete deck tiles on your patio, click here.

