Sleeper System Installation Brochures PDF
This installation method works well when joists are not 16"o.c., or if it's a new construction deck, or a deck remodel where there aren't any height restrictions.
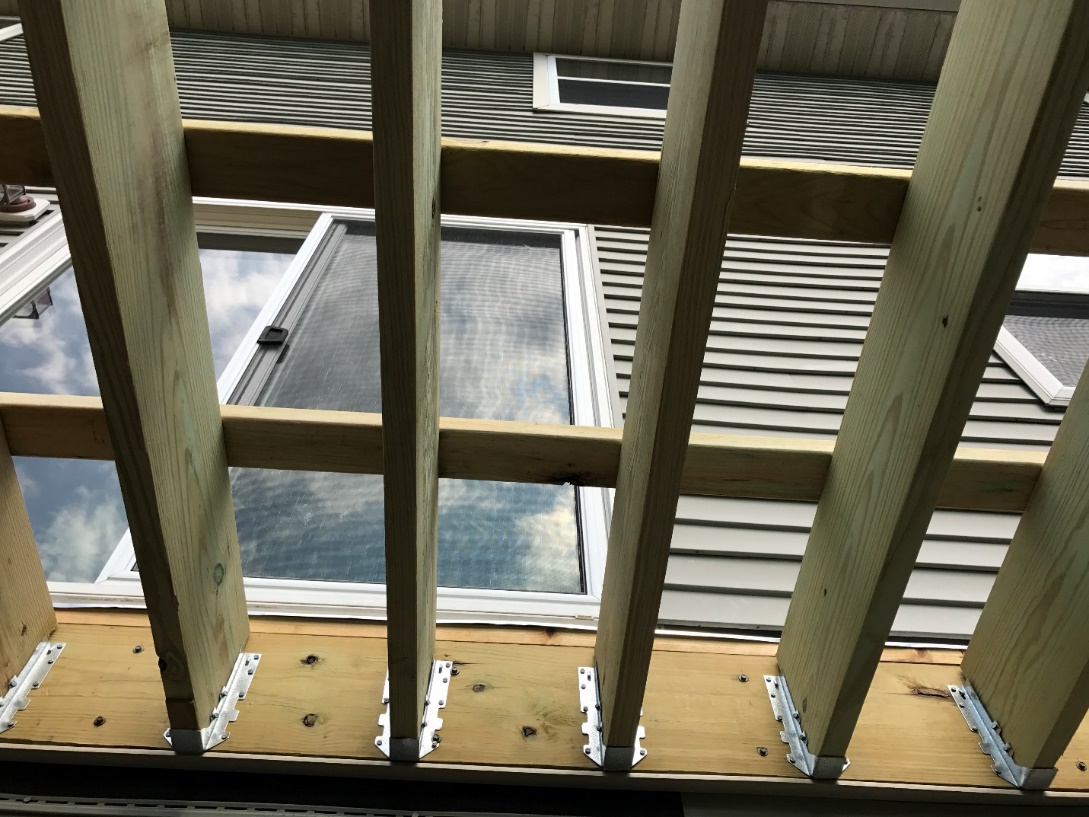
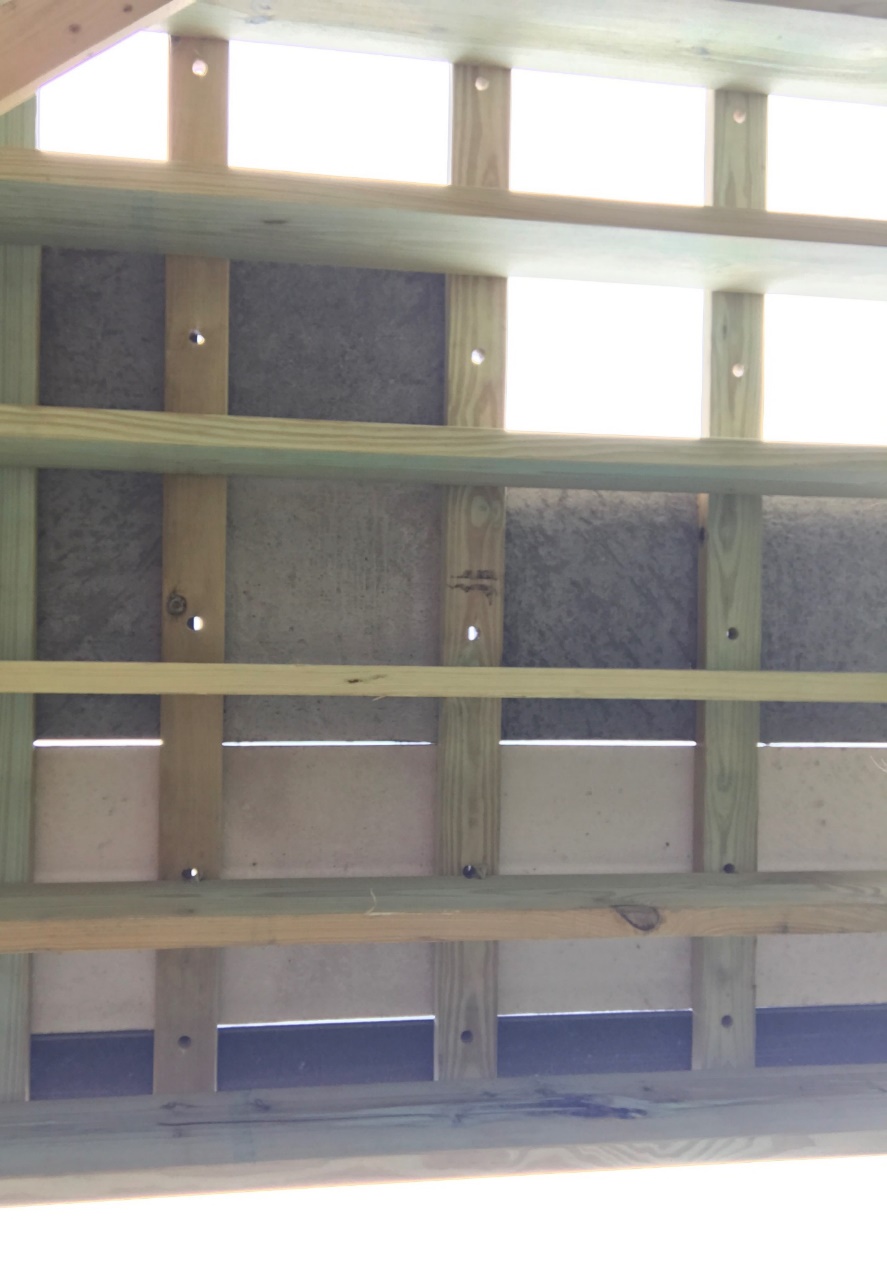
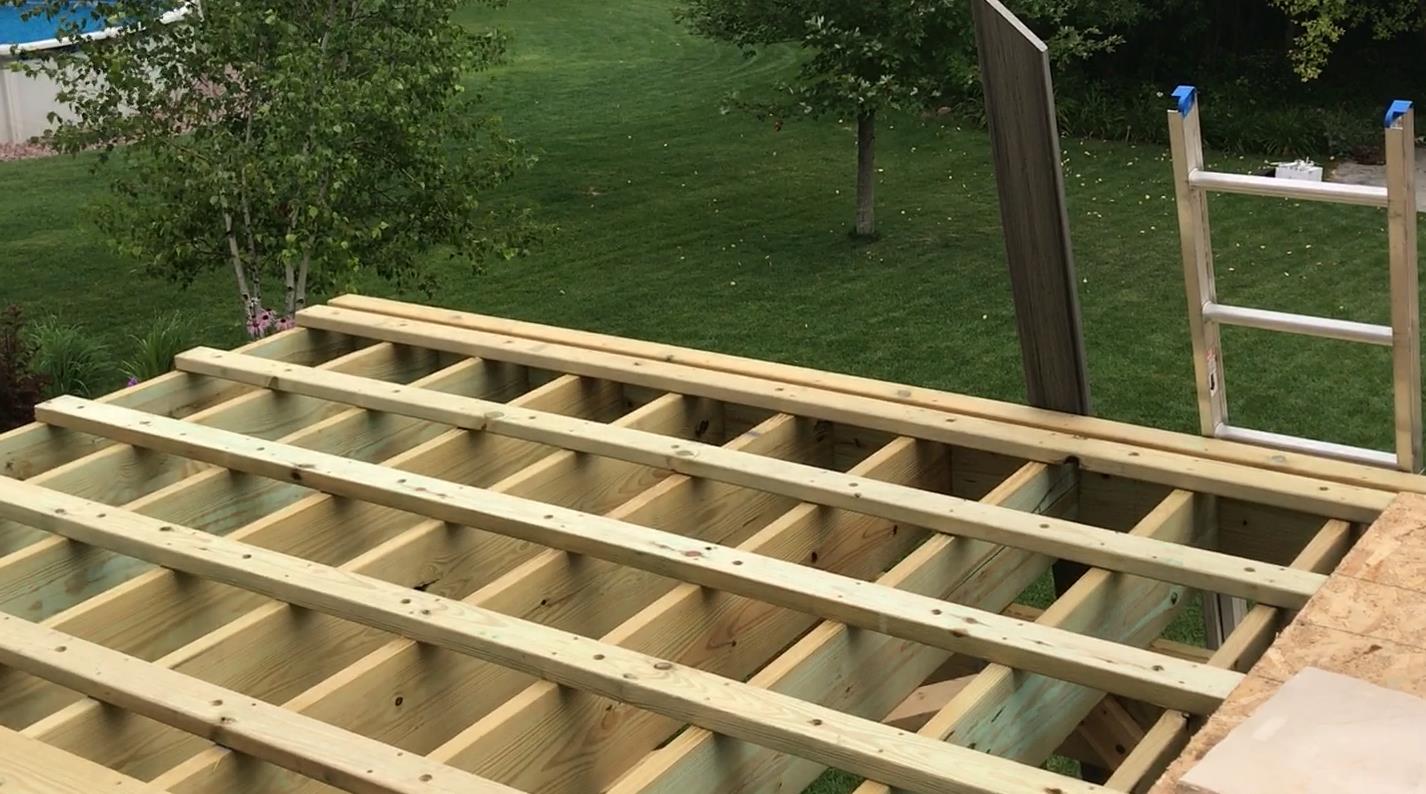
- On the sleeper system installation method you lay 2x4s flat & install them perpendicular (the opposite way) across the joists. You set the 2x4" sleepers 16"o.c. for the tiles to be set on. You definitely need to take time to lay out the tile pattern so that you can minimize narrow cut tiles and make it have a professional look. Once you decide the tile pattern then you can install the sleepers to accommodate the desired tile pattern.
- We also recommend you drill 1 or 2 holes approximately ½” in size through the 2x4 sleepers between the tile joints so the water can drain better. (These holes can be drilled as you set the tiles, so it's more precise for water drainage)
- Some additional blocking may be needed on the sleeper installs for the deck railing.
- After sleepers are installed and any additional blocking for deck posts is complete then you can install the edge trim (wood or composite) around the perimeter of the deck, ( you don’t need to install edge trim along the house edge unless you want it for the look, or it allows you to not have to make a narrow cut tile?
- Now you can lay the tile according to your tile layout plan, apply a 3/8” bead of adhesive in a straight line along each side of the sleeper where the tile is going to be set and then set tile in place, adjust position as necessary? Once you have a full line of tile set then use a long level or straightedge to check the straightness of the tile line. There may be a few tiles that are slightly larger or smaller than the others and will need to be centered between the two surrounding rows of tile. If you have a tile or part of a tile that sets lower than the rest then you might need to lift it back up and shim the low spot and then add more adhesive and reset it.


