Installing DekTek Tile's Concrete Deck Tiles Over Existing Concrete (With Adhesive)

This is the Best Method for Cold, Freeze-Thaw States
- First mechanically fasten anodized aluminum or powder coated iron-angle to edges of concrete to lock in deck tiles. Aluminum angle dimensions should be 2 ½” to 3” (flange) on long side, and ½” to ¾” (stem) on short side. Thickness of angle can be 1/16” to 1/8”. See Anodized Aluminum page for more info. Use Tapcon or other concrete fasteners with beveled head, and then countersink into angle to keep screws level with metal angle. This will enable tile to stay flush.
- Next lay out tile positioning to look as good as possible. Generally, when planning the tile layout, try to avoid small cut pieces if possible. They do not look as aesthetically pleasing to the eye. If you cannot get around the small pieces, try to place the small cut in a less visible area. Larger cut tiles generally look better. When designing a new deck, you can design it for minimal cutting and larger tile pieces.
- Start laying tile at one side of patio/deck and work your way out, cutting tile edges as needed. Use 1/8” to 3/8” thick EPDM paver pads at each corner of tile. One EPDM pedestal pad will hold the corners of 4 tiles.
- Apply 4-8 adhesive dabs on concrete, making sure the dabs are a minimum of 3/8” high to bridge the air space created by the EPDM pads. Keep in mind the adhesive dabs are not designed to hold the deck tiles in place permanently. The adhesive dabs are meant to help keep the tiles from shifting sideways.
- Space tile joints approximately 1/16” to 1/8” apart if deck or patio is larger than 8ft x 8ft. If the patio is smaller than 8ft x 8ft it is okay to butt the tiles together. Do not butt the tiles together on larger patios because of expansion issues
- Cementitious grout is not recommended on this installation. If you prefer to grout the tile use a soft grout (such as silicone or acrylic).

Setting DekTek Tile Over Existing Concrete Without Adhesive (No Grout)
- Mechanically fasten anodized aluminum angle at perimeter of the patio/deck to lock tiles in place.
- Apply solvent based concrete sealer to the top and 4 sides of tile. Do not seal bottom of tile.
- Lay tiles in place with EPDM pads (1/8”- 3/8” thick) under each corner of tile. Then tear or cut EPDM pad into 4 smaller pieces and add one smaller piece in center of each tile for additional support. Cut tile as needed. Install the cut edge of the tile again the perimeter of patio for the best look.
- Because adhesive is not used, you must apply 2 dabs/bumpers of clear silicone in between each tile joint. Wipe excess silicone off the top to help conceal it. See Bumper Install video.


Setting DekTek's Deck Tiles Over Existing Concrete Using Sleepers
Lay treated lumber or ground contact treated lumber 1”x4” or 2”x4” flat on existing concrete, and set 16” on center. (Thin sleepers would also work if desired but should be a minimum of ¼” thick.) Sleepers should run in the direction that the water will drain. Mechanically fasten sleeper into the existing concrete. Attach the DekTek Tiles to sleepers with construction adhesive. or mechanically fasten. Add extra framing for edges to allow for wood or composite edge trims, then lay tile (see elevated deck installation instructions).
Outside edge trims must be mechanically fastened when installed over wood joists or sleepers. This will ensure that the glued down tiles will stay locked in place.
In Warmer States Where There is No Freeze Thaw Cycles
- DekTek Tile can be applied directly over existing concrete if the concrete is in good condition. If cracks are large and can possibly move, then see Alternate Method for concrete that is in bad condition, listed below.
- First seal tiles (top only). This will keep the grout from discoloring the tile when grouting.
- Use Thinset or outdoor construction adhesive to adhere to concrete.
- Grout tile joints with cementitious grout.
- After grout cures, reseal tile to include grout joints.
- *If concrete has cracks less than 1/8” wide, treat them with anti-fracture membrane (available in most tile stores) before setting tile.*
Please feel free to call us at 218-380-9330 with any questions. Thank you!
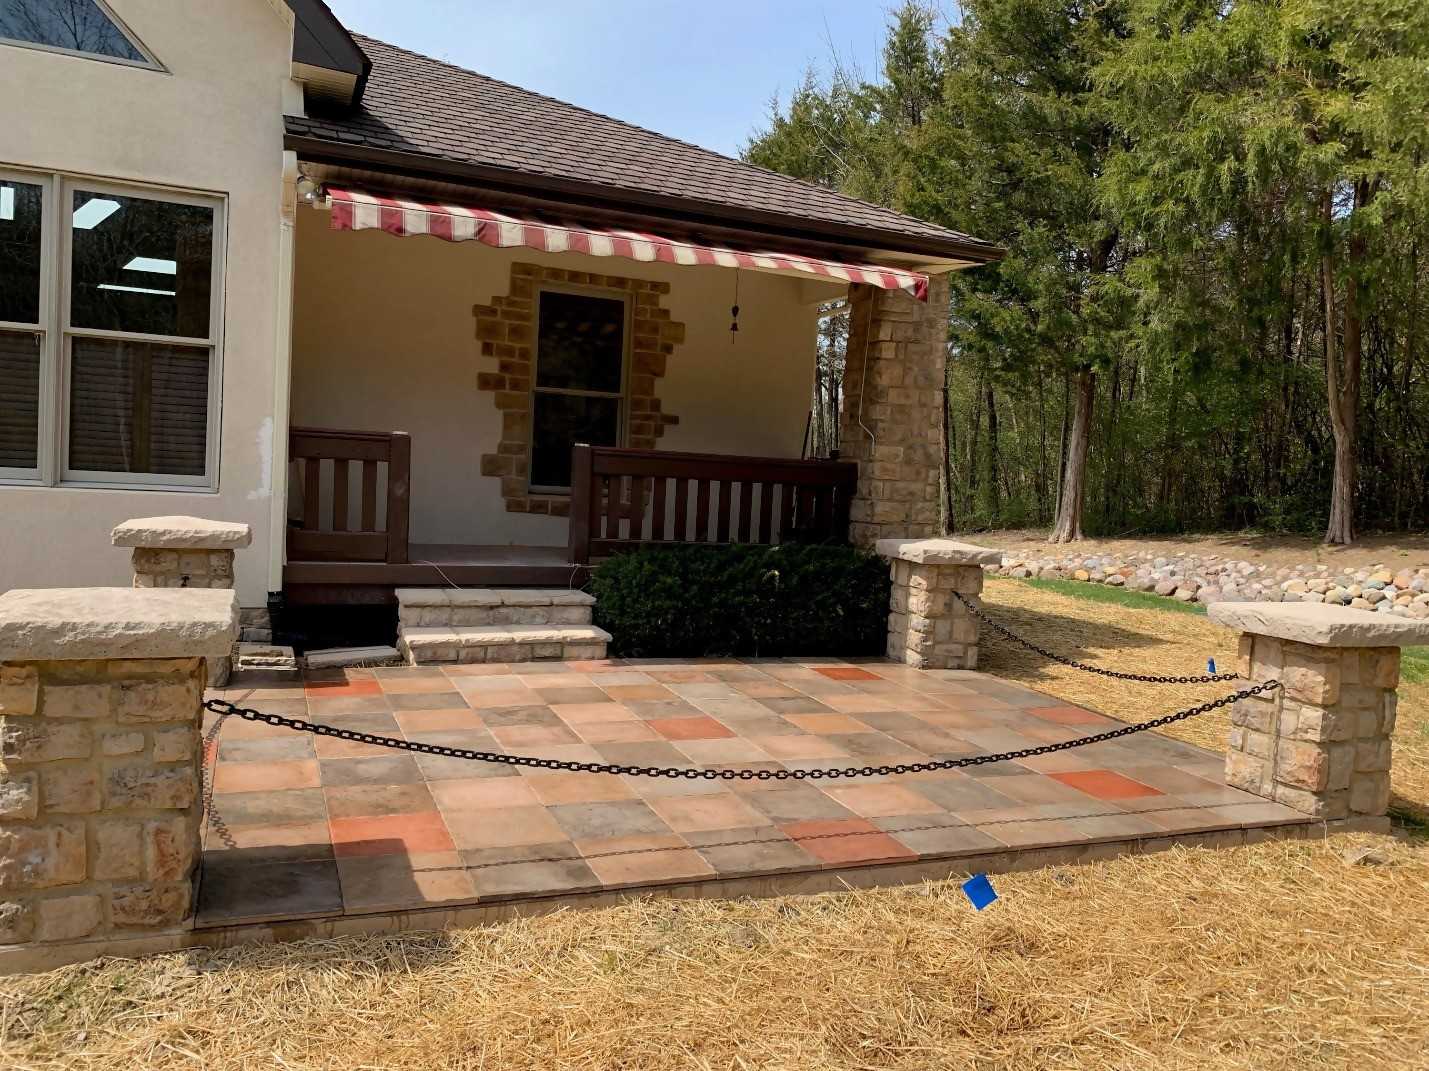
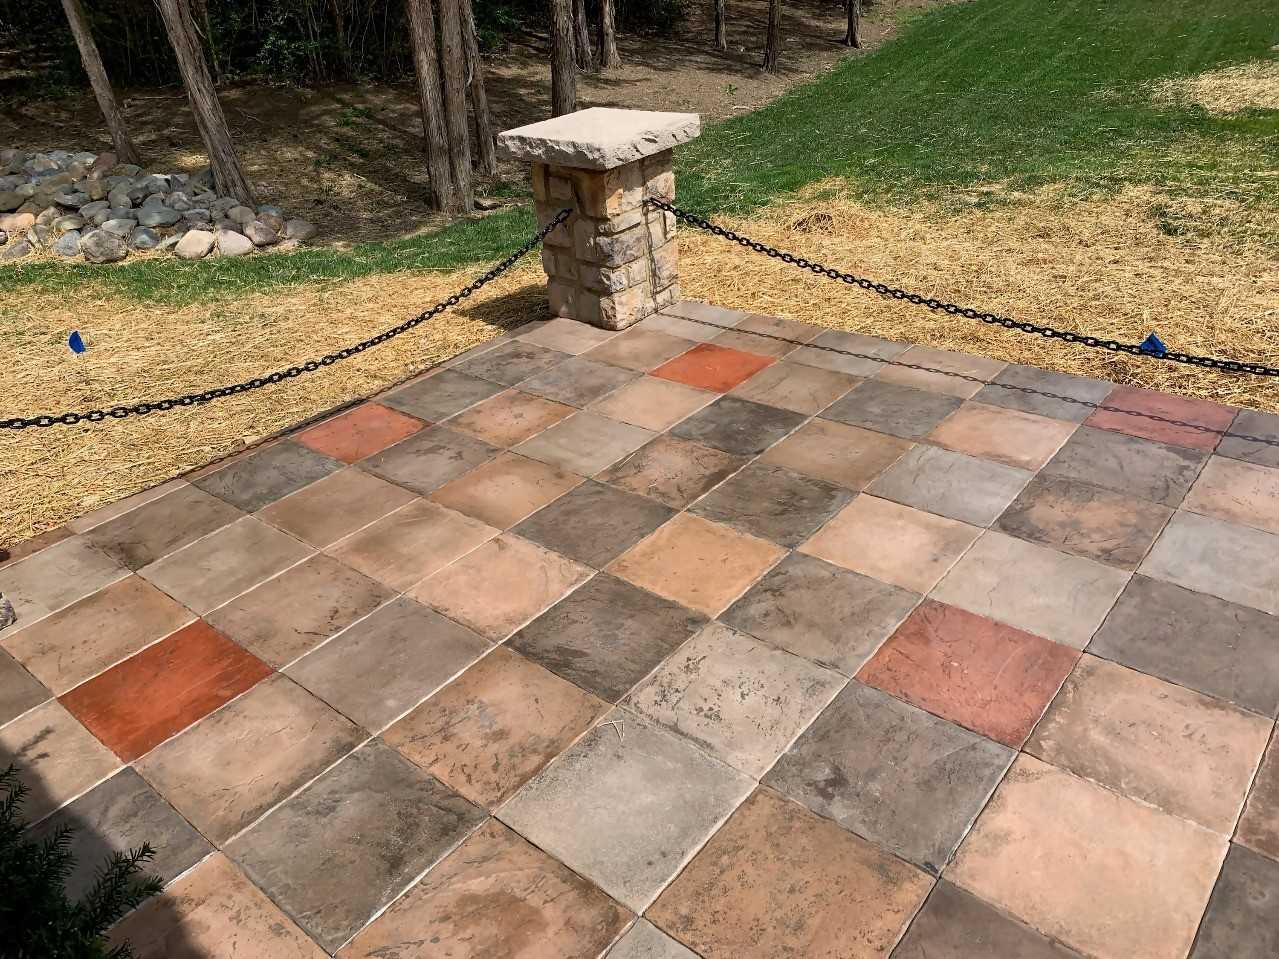
| Before Picture: | Progress Pictures: |
 |
 |
 |
 |
More Pictures